
Alesis had already been quite successful in the industry for several years when their Fusion Workstation hit the market in 2005, albeit under somewhat rocky circumstances. However, not long after, this keyboard became quite popular, especially among its owners. Today, the Fusion is considered one of the digital classics of the 2000s. There are reasons for this. And I played a role in it, soon becoming the world’s leading provider of soundware for this unique and distinctive keyboard. Read here to find out how it all came about and what unexpected events happened.
The folks at Alesis had already hired me for translation jobs back in the ’90s. That’s how I ended up translating many user manuals from English into German. For instance, for the QS synthesizers, which were quite successful at the time and were the successors to the Quadrasynth. I also worked on their effects units, such as the MidiVerb 4, the DM5 drum module, as well as power amplifiers, mixing consoles, and monitors, ADAT. It all added up to quite a bit. Since I was quite familiar with Alesis products, the German distributor hired me to help out at their booth during the International Musikmesse in Frankfurt, Germany. In addition to general booth support for visitors, my job also included presenting products.
And when musicians visited the booth and asked questions, to provide them with knowledgeable answers. When I was in Los Angeles in the late ’90s, I visited the Alesis headquarters in Santa Monica. To get to know the people who developed all the products I’d been working with so closely for a while. That would have consequences, because they no longer saw me just as the translator of the user manuals and a helper at the International Musikmesse, but also as the go-to guy for sound design and preset creation as part of the standard factory voicing for new keyboards. It didn’t take long before they asked me to create a complete presets bank for the Andromeda A6 analog synthesizer. They wanted me to deliver typical keyboardist sounds. I did that in early 2001.
Everyone was quite happy with the result, and it wasn’t going to be my last sound design project for them. A while later, I was programming another sound bank — this time for the Ion. And soon after that, I got another assignment, creating sounds for the then-new Fusion workstation. My job: programming presets again. Normally, in cases like this, I receive the new instrument, which is set to hit the market soon, and whip up the desired sounds in no time. Then the instrument goes back to the manufacturer. But this time, things turned out quite differently.
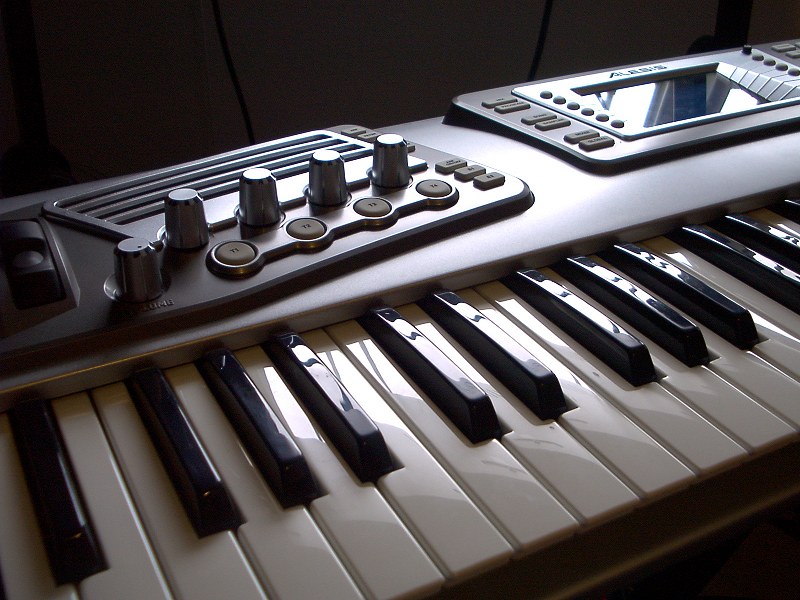
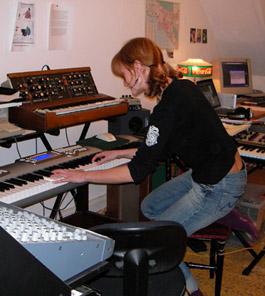
As agreed, the Fusion arrived right away. Via FedEx, which was the top-tier courier service back then. I unpacked the unit, it was the 8HD model. I quickly set it up on a keyboard stand in my sound lab. I turned it on, and within a few seconds it was ready to play. There were already a few presets loaded, and they sounded great. Great samples, well-crafted VA sounds, and even a bit of FM. All right, I was ready to go, and it was fun.
The weighted keyboard on the 8HD felt very comfortable to me. It offered just the right amount of resistance, as you’d expect from a piano, but was also smooth enough to play fast lead synth solos. So I got right to work. In the meantime, I had gotten myself a card reader, which I ahd to use to transfer the presets from the Fusion CF card to my PC and then send them to Alesis in the U.S. And after just a few days I was able to send the first results to them via email attachment. I was confident that I would soon have my job completely finished and could then turn my attention back to other things. I had a music production project coming up that was set to be released on CD soon. But things turned out quite differently.
Suddenly, I received an email from Alesis instructing me to update the operating system. The email included detailed step-by-step instructions, so I read through them. It said that my Fusion had arrived with a very early version of the operating system, but that my programmed sounds should be compatible with the next version up. And that’s why this update was absolutely necessary. All right, I thought, I’ll just do it then. It was a first for me; I’d never had to do anything like this before. The process didn’t seem too complicated, but there were technical hurdles I had to overcome. I wasn’t sure if I could really do it correctly.
Because one thing was clear: no one could help me with this, the NDA prohibited anyone from telling others about the new instrument. I was completely on my own. Fortunately, during my subsequent online search, I finally found the expertise I needed and discovered a solution to my problem. In the end, the OS update worked, and I could finally continue working on the presets.
So everything looked pretty good, and by that point I’d created a large number of presets so the folks at headquarter could pick out the best ones. That’s exactly what happened, and I thought it was time to send the invoice for my work. But then I received another email from Alesis. They had planned a 128-bank General MIDI soundset plus drum kits for the Fusion, and they asked me if I could complete it. I said yes, I could. So off I went, back to the Fusion. I owned the Roland Sound Canvas SC55 at the time, so I knew exactly how a General MIDI soundbank was supposed to sound.
No sooner said than done. I sent this soundbank to their in-house sound team as well. They were once again satisfied with the result. Even before I could finally send the updated invoice, I received another email from them. This time with bad news. They had to make some changes in Fusion, for whatever reason, and as a result, my General MIDI sounds were essentially broken and no longer sounded the same as before. They asked me to revise the GM soundset. I took care of that, too. But now I finally wanted to write my invoice. Yet another email arrived from Alesis. It said they had noticed that they still needed sounds such as solo violin, wind and ethnic instrument categories, and all that sort of thing. Those were their latest requests.
I managed to finish that as well and created another complete sound bank, which was later called ROM 5. But, finally, that really marked the end of my work on the Alesis Fusion manufacturer projects. Not so for others, though.
Now I needed to make preparations for the music production mentioned above. The composer, who was also the producer of the music project, had provided some specific sound requirements. It turned out that the sounds created specifically for this project by Fusion were a perfect fit.
Along with other instruments in my setup, including the Alesis Andromeda. I was also lucky with the 8HD model, because unfortunately my other master keyboard had just suffered a technical malfunction and had to be taken out of service. So the Fusion, with its great weighted keyboard, came along just in time as a fantastic replacement. In the end, it took a while before the CD album for this project was finally released in the summer of 2007. It’s the album ‘The More You Know’ by Milo’s Craving. A little later, the French music magazine Highland selected the album as one of the 140 most significant prog rock albums of the past 40 years. A pretty good start for a new band. Here’s the link to the YouTube playlist:

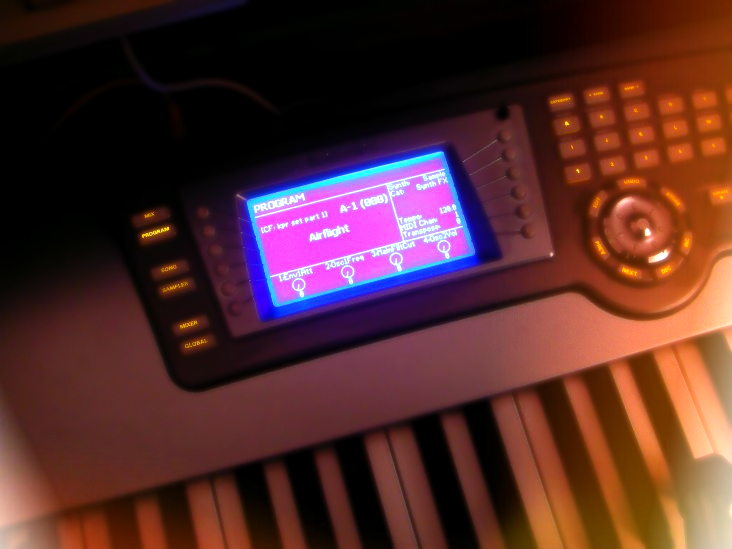
Well, it turned out there were other unexpected ways to use the Fusion. Let’s go back to 2006. There was a lot of activity among new Fusion owners on an internet forum. People were discussing all sorts of things, including the sounds. It seemed there was a demand for more. Since I was really familiar with the keyboard thanks to my extensive factory voicing, I thought I’d just continue working with it as a third-party provider, just as I’d been doing for years with other instruments. I already had my own online shop for sounds. So, in a short time, I programmed the sound bank “Fusion Presets by kpr”; this package contains no fewer than 364 new presets, and I thought they turned out well and were a suitable complement to the factory presets. I posted the information on that forum and had also created a demo MP3, which allowed interested users to listen to several presets online.
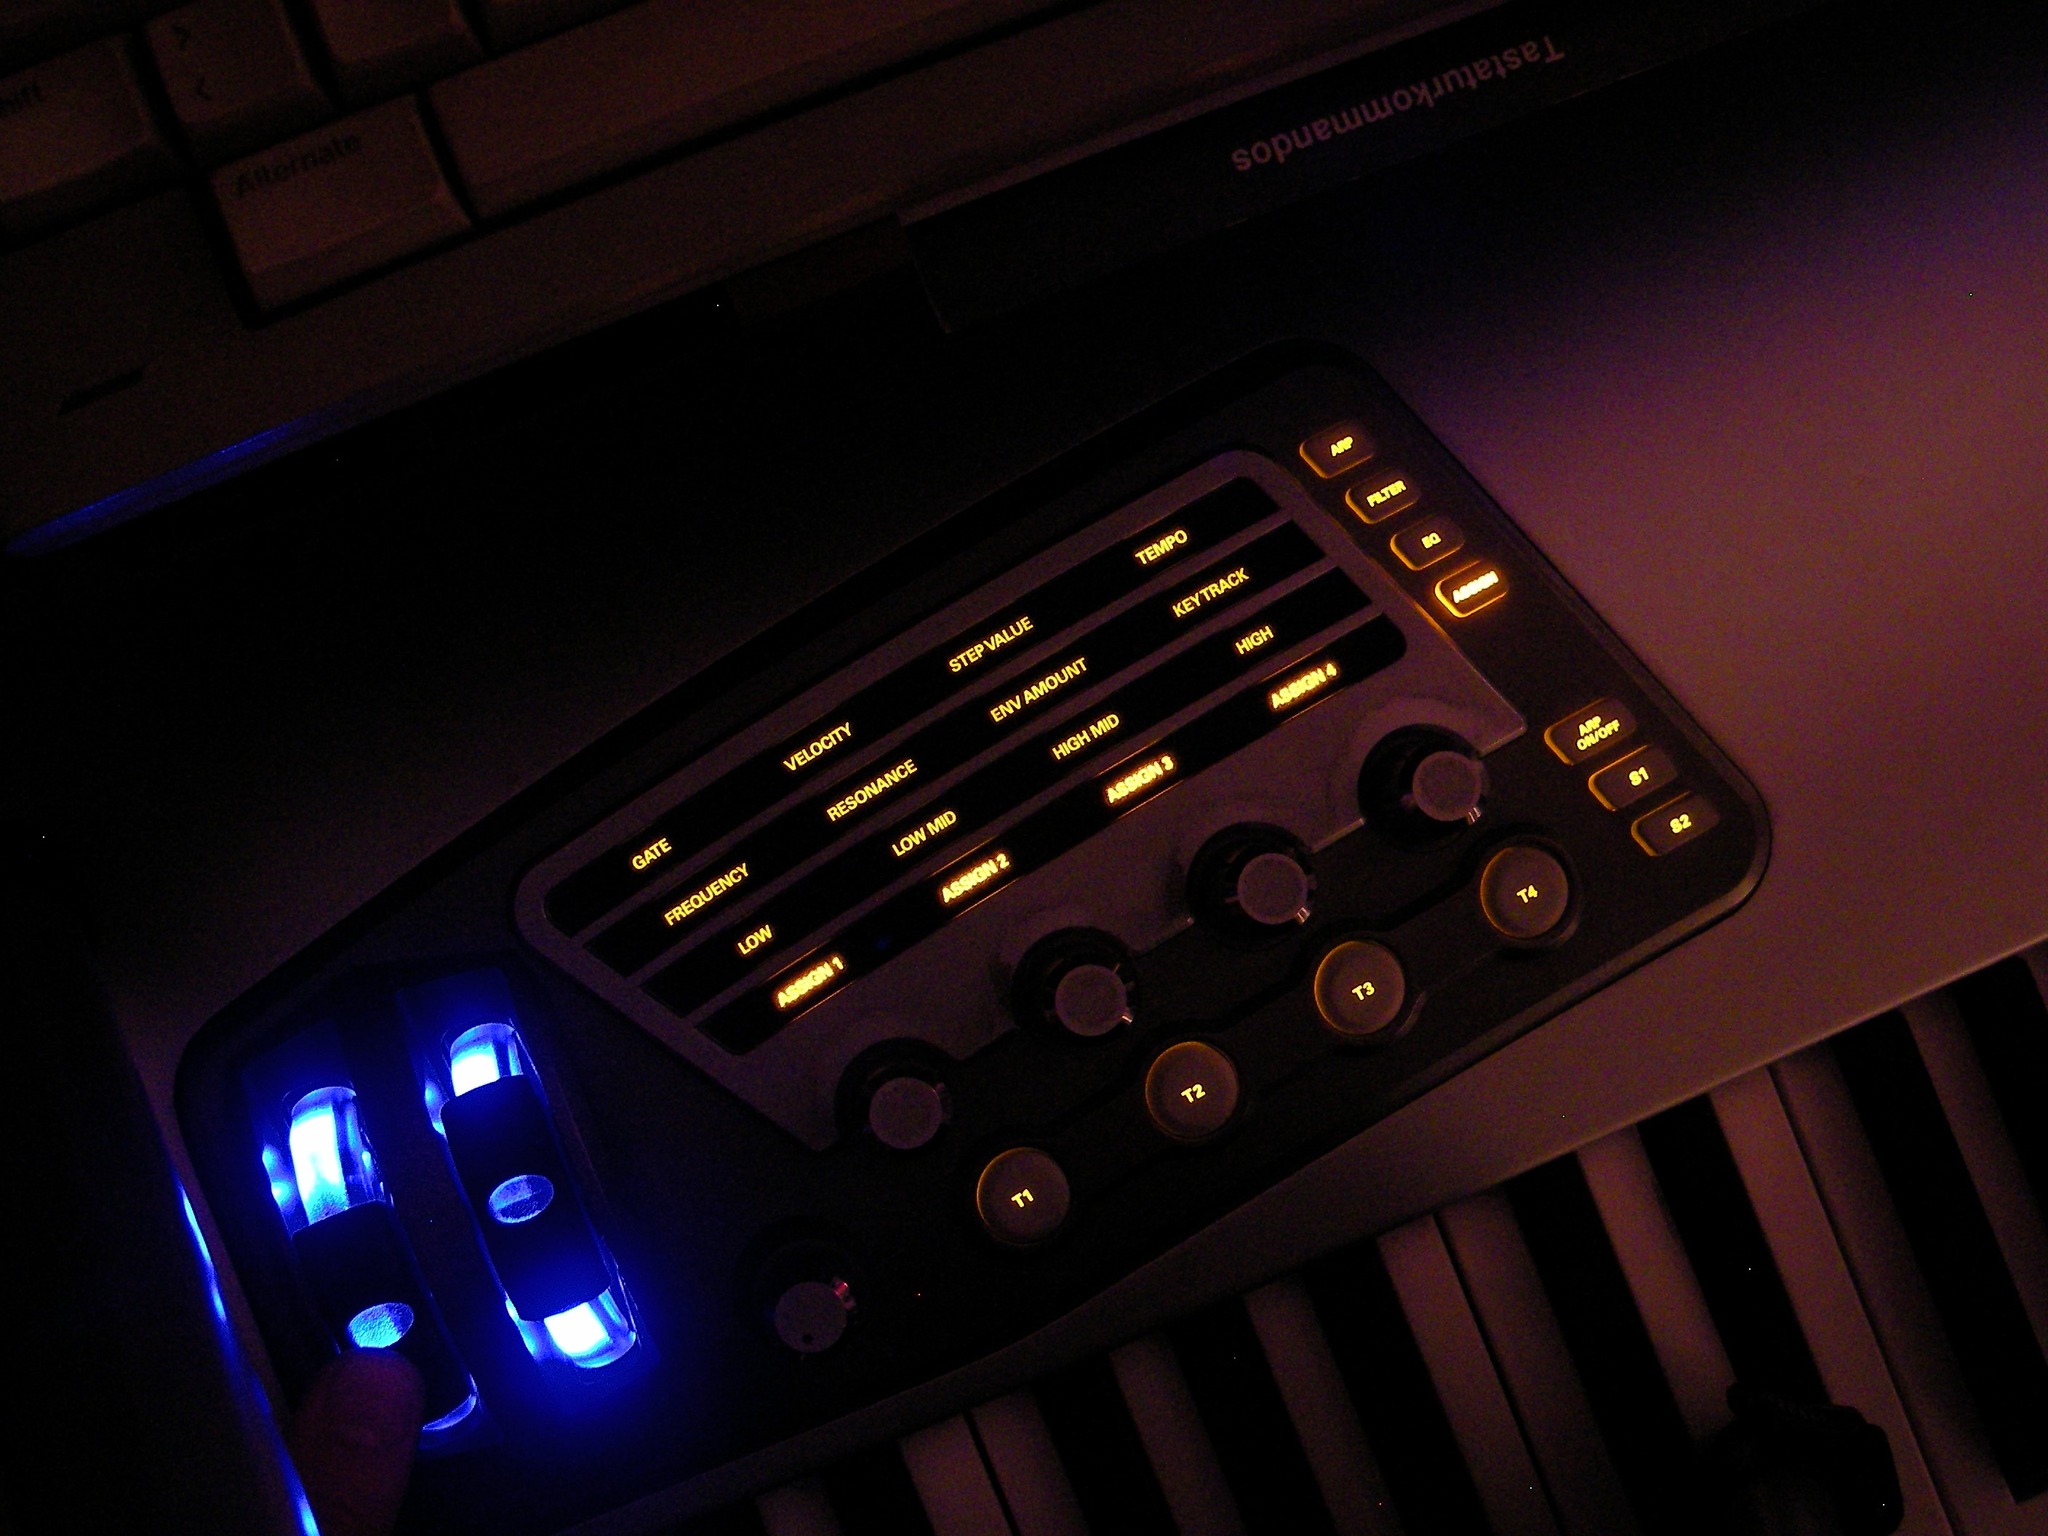
Quite a few people were enthusiastic about it, and I sold a surprising number of copies of these three sound banks. Encouraged by this success, I soon released another one: “Fusion SYNTH Presets by kpr.” This time, the focus was on the Fusion’s VA and FM sections. But there were also some presets based on the internal ROM samples that similarly emphasized the Fusion’s synthesizer capabilities. At the same time, I had equipped all presets with extensive controller assignment programming, which significantly improved the real-time dynamic possibilities compared to the factory presets. The controller assignment of the factory presets was only rudimentary and quite simple. I was able to show this well in my preset demos. Fusion owners were pleased with this, so this soundbank also sold very well. Now I was finally deeply immersed in Fusion voicing and turned my attention to the sample content.
Since I had already produced many sample libraries in various formats in previous years, I used the Fusionconverter software for this purpose. That’s how I created my first sample library for it, titled “Fusion Samples by kpr.” It was the same process as before: I posted on the user forum offering an audio demo MP3 with a few presets, and once again, customers placed orders.
In the meantime, the folks at Alesis had hired Steve Howell from Hollow Sun and had him create sample libraries that were made available to users for free download. Fusion owners were absolutely thrilled by all of this. Alesis had finally ironed out all the bugs, so excitement over the Fusion gradually reached a peak. I didn’t slow down either, releasing one preset soundbank and sample library after another, including Ultra Synth, Otherworld, Dreamscapes, Grand Piano and MyMoog.
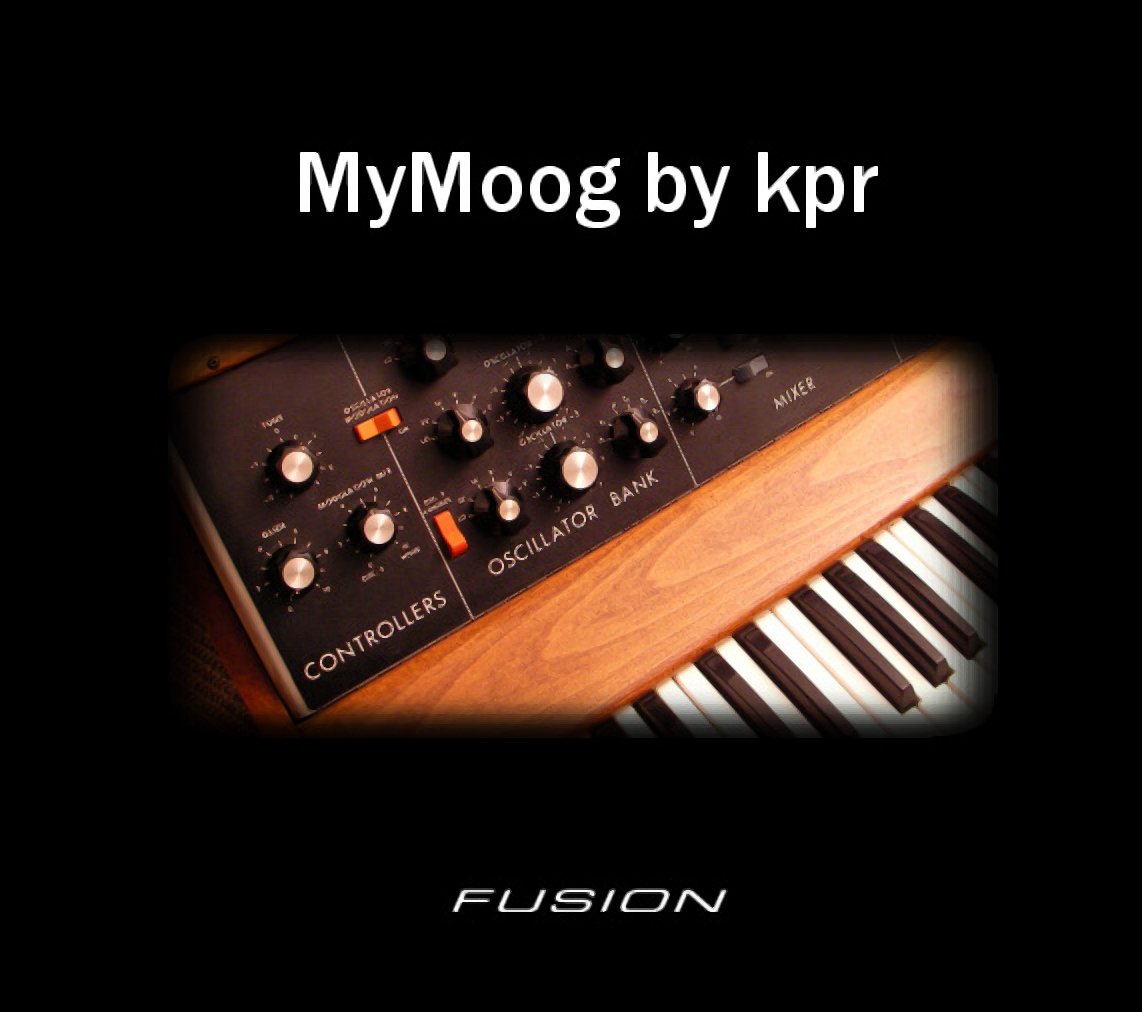
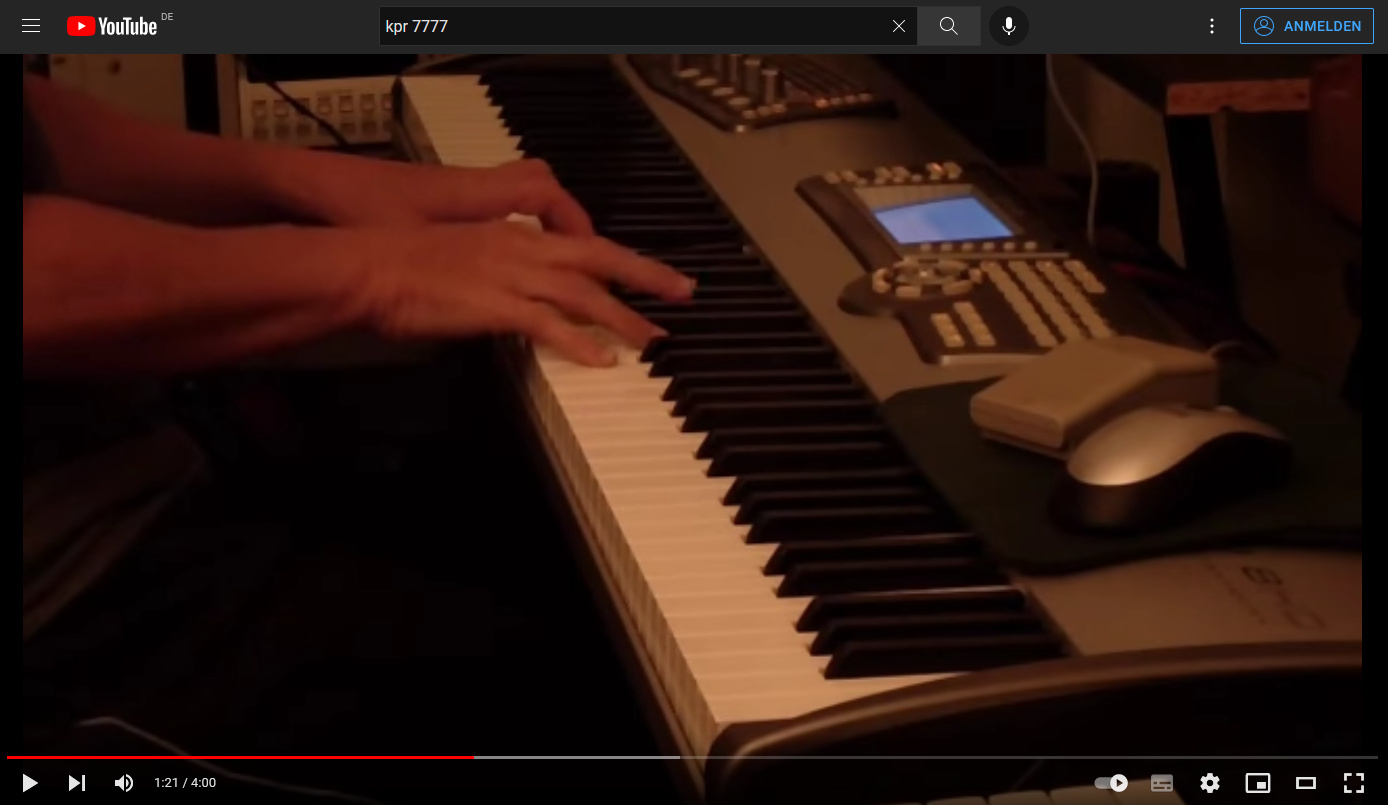
Then Steve Howell got in touch with me and said he’d created a sample library featuring the legendary Hammond Novachord from the 30s. It’s a very rare instrument with a truly unique and amazing sound. He asked if I could create some Fusion presets based on those samples, and I was more than happy to do so. Steve’s Novachord samples were superb, and it was a blast to contribute my own ideas to the project. In the end, Steve was pleased with my contribution. I demonstrated some of the presets to Steve with audio demos, and later I posted a video of it on YouTube.
My Fusion road trip still hadn’t reached its destination. That’s because Fusion owners kept asking me questions about the instrument on the user forum. I thought about compiling my answers into a book. That’s exactly what I did, under the title “My Fusion Secrets.” It contains pretty much everything I had learned while working with the instrument, and I simply passed that knowledge on to Fusion owners in this way. The book is still available today in an improved version. It includes a sample library and a preset soundbank.

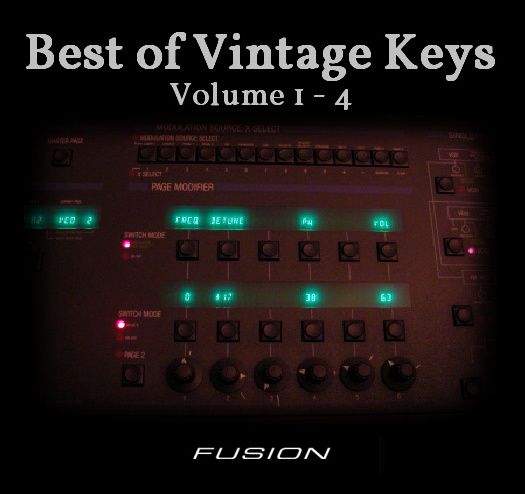
The years went by, and I kept working on my Fusion soundware. New titles were released at irregular intervals, and I occasionally published ones that catered to specific areas of interest. For example, “Glasses,” featuring samples I created using wine glasses, some of which were filled with water. And “Pianoharp,” a sample library with these unusual and very distinctive sounds. Likewise, “Best of Vintage Keys,” a 4-part series featuring the best and most characteristic sounds of the most legendary vintage synthesizers and keyboards.
But also “DynaGrand,” which allows for incredibly dynamic playing on two grand pianos, each with four velocity switches, without overloading the Fusion’s relatively small sample memory.
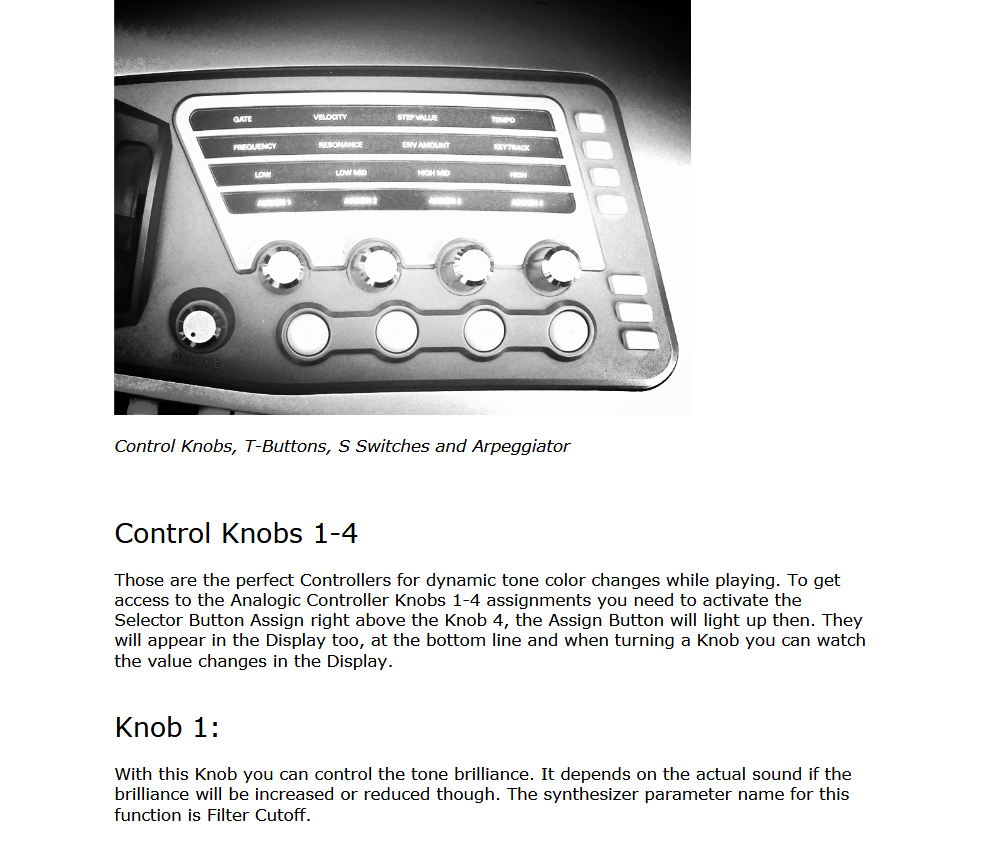
I also published what I call “Analogic”, a controller assignment concept at some point, in which I devised a way to control the Fusion VA Synth in real time just like an analog synthesizer. And I made it so that every preset can be controlled in the same way using these real-time controllers.
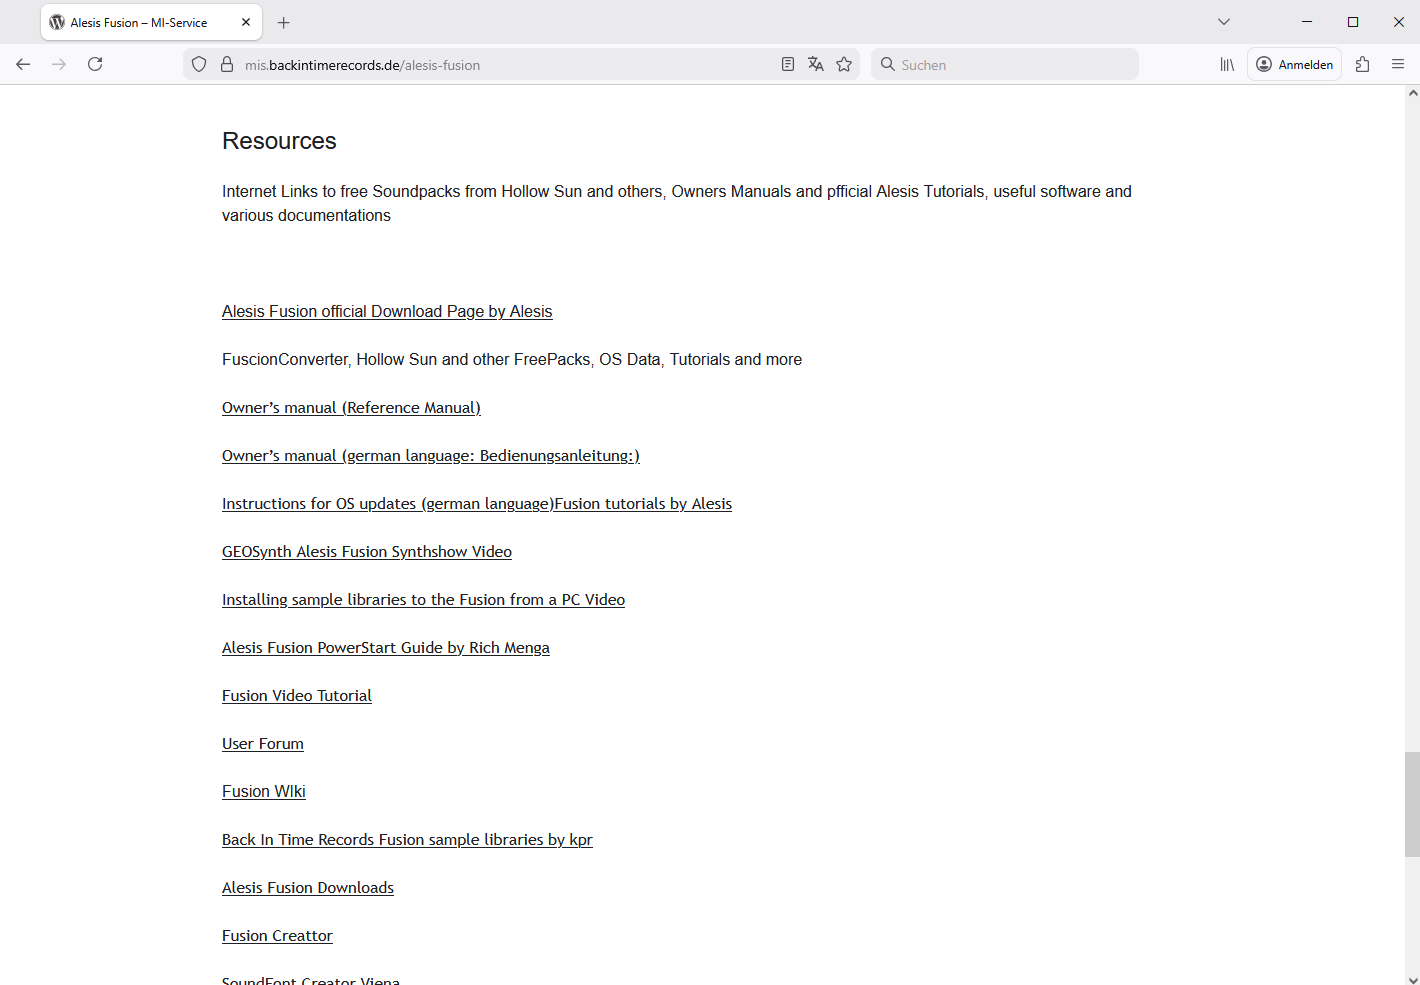
I also ended up adapting the concept for the Korg Kronos. And that’s not all, I’ve created a website where I publish tips and tricks that are freely accessible and free of charge for Fusion owners, such as a quick guide to using your own samples. There’s also an extensive list of links to websites related to the Fusion, serving as a handy resource for every Fusion owner. It’s also useful for those who eventually bought the instrument secondhand.
Well, it’s been 20 years since I first started working on these custom Fusion sounds, and I’ve since become the world’s leading provider of Fusion soundware. I kept the Fusion 8HD, which I originally received as a programmer’s unit, and it’s still sitting in my sound lab today. I still enjoy using it, partly because of its great keyboard. But the FM section is also so fantastic that, as a die-hard FM enthusiast, I really love working with it.

And I probably won’t be done with it for a long time yet, given how versatile and extensive its capabilities are. I’ve only had technical issues with the Fusion once in all these years. I’d worked the pitch bend wheel so hard that the center position got a little loose, and the technician had to tighten it back up. It was a minor issue.

Awesome, reliable Fusion, you’ve been a lot of fun, helped me make money, and let me create great music productions. Keep it up, my little buddy.